Previously in Part 1, I wrote about the steps to install Oracle Secure Enterprise Search for use with PeopleSoft and I reviewed some considerations for PeopleSoft Admins. Part 2 covers the integration configuration required to have PeopleSoft communicate with SES. On the PeopleSoft side we must setup Integration Broker properly. On the SES side we need to configure Identity Management for PeopleSoft.
SES Configuration
First login to the Admin Console for SES. Using the URL from the previous post which would be something similar to http://psses.yourdomain.com:7777/search/admin/index.jsp. As you will see the User Name is hard coded to eqsys and the password is what you provided during the installation.

Once logged in here is what the home screen looks like but there is nothing for us to do here.

First we need to add a Federation Trusted Entity. Navigate to the Global Settings tab

and click the Federation Trusted Entities link in the Search section.

This Entity Name and password are configured for inbound connections to SES and will be configured on the PeopleSoft side. Here is a screenshot after I had already entered and saved the data. As you can see, I named the Entity DEVPS and it is using a password. I entered a Description though one is not necessary. The Identity Plug-in and Authentication Attribute options are left blank for this configuration.

Next we activate the Identity Plug-in which is used to access users in PeopleSoft. An Identity Plug-in is
Identity plug-ins can obtain user and group information directly from any identity management system. An identity plug-in is Java code between Oracle SES and an identity management system, allowing Oracle SES to read user and group information.
Go back to the Global Settings tab and find the Identity Management Setup link in the System section.
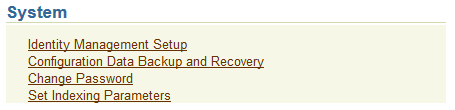
This page has a long list of Identity Plug-in‘s. You can select and only setup one though. Furthermore
The plug-in that you activate is responsible for all authentication and validation activity in Oracle SES.
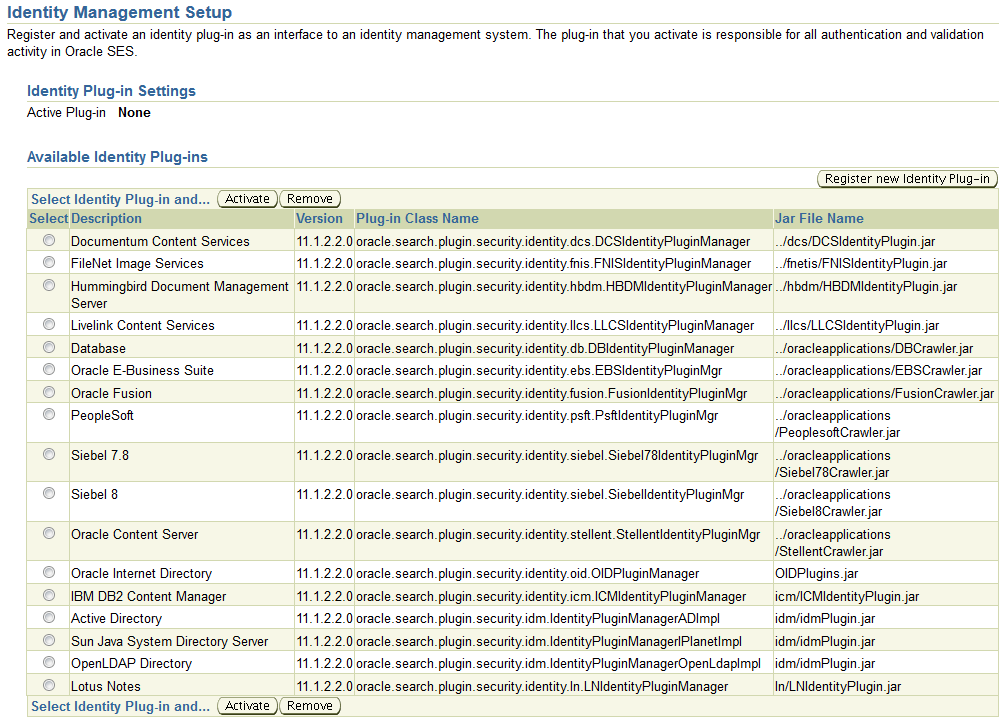
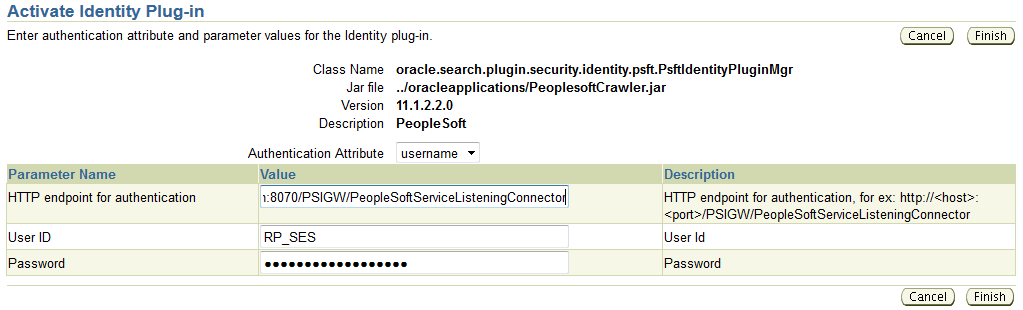
So select the PeopleSoft Identity Plug-in and click the Activate button which is at the bottom of the page
![]()
Enter the HTTP endpoint of authentication: Which will be the URL to the PeopleSoft Listening Connector on your PeopleSoft system. The User ID and Password here is a PeopleSoft user that has the Search Framework Administrator role or permissions lists assigned. As usual, I created a separate account in PeopleSoft for the sole purpose of providing this functionality. This gives allows me to determine the minimum required access this particular user needs and protects against impacting other functionality by using a shared account. It also usually pleases auditors and security teams to see, which keeps me on their good side. This and buying them donuts or cookies of course!
Once setup you can see we have the option only to Deactivate the existing Identity Plug-in. If you make a mistake, just deactivate the Plug-in and start over.
Note: The 8.53 install guide indicates there is a place to enter the ToolsRelease here, but as you can see, there is not.

Next we review the SES Authentication timeout settings. Head back to the main Global Settings tab again and in the Search section click Query Configuration . The PeopleSoft documentation recommends changing the Maximum number of results to be sent to PeopleSoft to 999999 (the default was 200). That sounds excessive, so note that for something to come back and adjust later once we have it working, for now though I have done what the documentation has recommended.
![]()
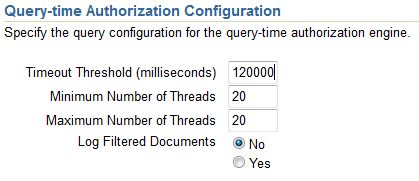
Next go down to Query-time Authorization Configuration and set the Timeout Threshold to 120000 milliseconds (the default was 30000)
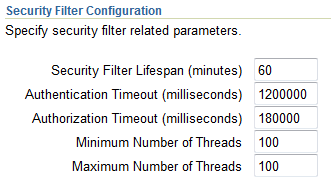
Next scoll down to Secure Search Configuration and change the
- Security Filter Lifespan to 60 (default was 1440)
- Authentication Timeout to 1200000 (default was 30000)
- Authorization Timeout to 180000 (default was 30000)
I’m not sure why the Authentication Timeout should be 20 minutes. Seems excessive again for an auth timeout, but I will revisit it later with the other settings. The help page states
Specify the authentication time-out period. This is the maximum wait for getting a response from an identity plug-in. If the threshold period expires, then the associated login operation will fail.
Apply the changes when you are done.
We have one step that is required at the OS level. And that is to add AUTO_CHARSET_DETECTION to $ORACLE_HOME/search/data/config/crawler.dat to enable Character set auto detection. This is important to properly handle Unicode files and pages that may be indexed. So I added the following lines to the end of the crawler.dat file
# enable automatic character set detection
AUTO_CHARSET_DETECTION
When you finally crawl something you can validate this option is set properly by reviewing the log, you should find the following line.
21:07:06:313 INFO main Auto character set detection is on
That should conclude our setup on the SES side, we will return later though to just validate and look at some things.
IB setup for Search Framework
The PeopleTools Install Documentation walks through setting up Integration Broker somewhat in Chapter 11 Configuring Integration Between PeopleSoft PeopleTools and Oracle (Tools 8.53). Since this isn’t an Integration Broker write up and there are plenty of already existing good ones out there like On the Peoplesoft Road: Peopletools 8.52 Integration Network WorkCenter, I’ll cover the basics quickly and then touch on a few things I noticed.
- You need to have setup your Integration Gateway and load the connectors
- You should define your Gateway Default App Server and PeopleSoft Nodes in the Gateway Setup properties
- On the Advanced Properties Page for the Gateway Setup you should define a secureFileKeystorePasswd
- You Local Node should be active and when if you ping it, it should come back with Success
- PUBSUB processes should be running on your application server domain
- Verify that your Service Configuration is correct.
- Navigate to PeopleTools -> Integration Broker -> Configuration -> Service Configuration
- Click Setup Target Locations
- Confirm the Web Services Target Location references the correct URL for your system.
This next requirement is something that is not always configured when simply using Integration Broker. They want the Content URI and Portal URI text specified on the portal tab for the default Local Node you are working with. This is required, and you may get an error building your search index without it. The error is pretty self explanatory, it is:
Content/Portal URL not defined for node PSFT_HR
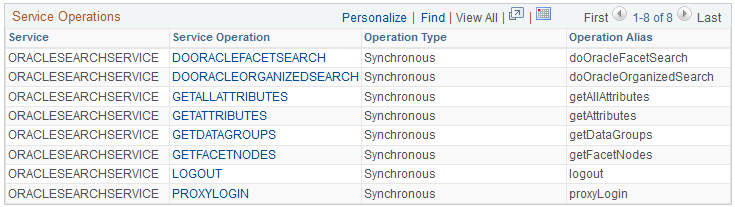
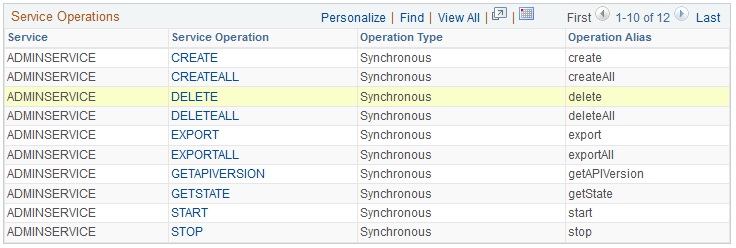
You should also verify that the Service Operations needed for SES integration exist in your system. ADMINSERVICE and ORACLESEARCHSERVICE should both exist as Services.
Continuing on, we are ready to define a search instance in PeopleSoft. Navigate to:
PeopleTools –> Search Framework –> Administration –> Search Instance
Add a New Value, A default Search instance my have been delivered in your database depending on what your working in. If it exists, you can try to add a new one, but I found I was unable to so I had to modify the existing one. On 8.53.02 I was unable to save a new Search Instance under a different name. See the attached error to the right. When I tried to use my own Name a trace indicated it didn’t seem to matter and would use INSERT INTO PS_PTSF_SRCH_ENGN with the name being PTSF_DEFAULT. Interestingly enough in the SES 8.53 PeopleBook it says
You may not reuse a search instance entry for an entirely new instance of a search server
But in my case, that is exactly what I did. So I changed the config as follows.
SSL Option: is set to Disable in my case for now.
Host Name: is just my system name psses.yourdomain.com
Port: is 7777 since I took the default

Provide your SES Admin Service Credentials:
eqsys/password

The Query Service Credentials are the actual Federated Identity name and password
DEVPS/password

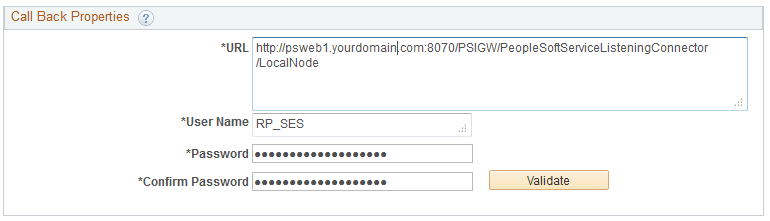
Enter the Call Back Properties updating the URL accordingly and specifying a user with Search Server access. I decided to reuse my RP_SES user which I had already created.
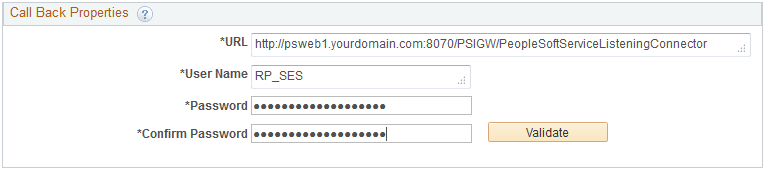
Be careful here, this value needs to match the setting in the Service Configuration Target Location we verified a few steps back. If you specified the Default Local Node on the end of the Target Location then you need to specify it here. I don’t use the Default Local Node on the Service Configuration Target Location. When I replaced the existing text from the original setting it left the /LocalNode in the field but I wasn’t able to see it until I expanded the text area.
Save your Search Instance Properties and then try to run the the tests to validate. All of them should pass.
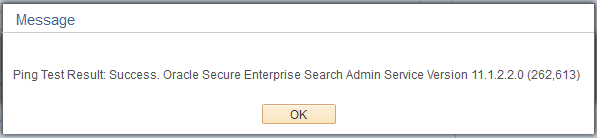
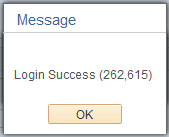
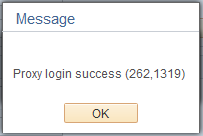
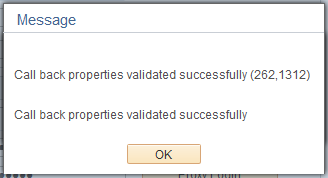
Next go to PeopleTools –> Search Framework –> Utilities –> Diagnostics and run click Step 1: Ping Test. This should also work if your previous tests worked. Once the Ping Test comes back it should make Step 2: Deploy an active link. You should be able to continue through to Step 4: Search and everything should work.
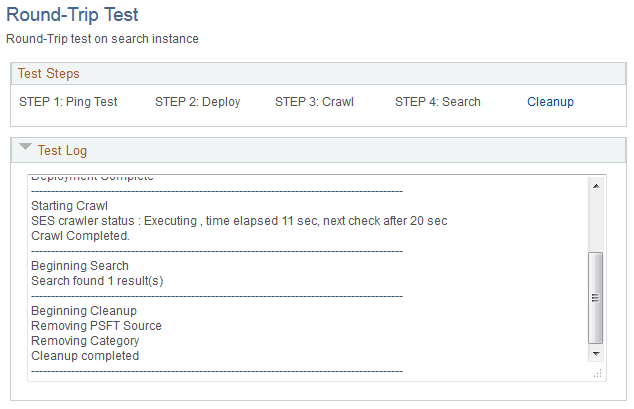
Before clicking Cleanup you can go over the SES Admin Console and click on the Home tab, then on the left side click on Sources in the upper menu that is blue. You should now see something similar to RNTRPTST_<DBNAME> listed under Sources and also you should see something similar under Schedules. After returning to PeopleSoft and clicking Cleanup these two entries should go away. This has validated that you can successfully Deploy, Crawl, Search, and Undeploy search indexes to SES from PeopleSoft.
In Part 3 I’ll go over the Administration of the Search Framework, which includes Deploying and Building delivered indexes.
Leave a Reply